Kevin Zhang is a passionate table tennis coach and the founder of RecRoomPick.com, a site dedicated to helping players and enthusiasts discover the best in indoor games. With years of competitive ping pong experience, Kevin shares expert tips, equipment reviews, and guides on table tennis, foosball, pool, pickleball, darts, and more. His mission is to make indoor recreation fun, accessible, and competitive for everyone.
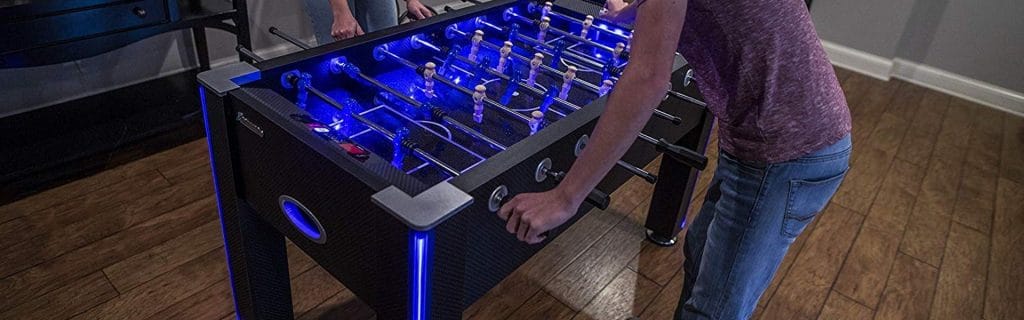
Playing foosball is a great pastime. It is fast-paced Trusted Source Table football - Wikipedia Table football, also known as table soccer, and known as babyfoot in France, Kicker in German-speaking countries, calciobalilla/calcetto in Italian and foosball in North America, is a table-top game that is loosely based on association football (soccer). The aim of the game is to move the ball into the opponent’s goal by manipulating rods which have figures attached. en.wikipedia.org , challenging and allows players to plan and execute different strategies to try to blast through their opponent’s defenses and win the game. The biggest issue with it, however, is that the tables can be prohibitively expensive, which is why some fans turn to DIY foosball tables.
While this might seem like a challenging prospect, it actually isn’t all that difficult. You can make your table as intricate or as simple as your skills and needs dictate. You can also check out professionally designed tables for great examples for your own design. Of course, there are some basic rules that you need to follow when making it so that you can play by the rules when it is finished. With some simple tools, planning, the right materials, a bit of elbow grease, and, of course, our guidance, you can easily create an exquisite foosball table of your very own. This will allow you to not only practice your skills but entertain your friends and family as well whenever they come for a visit.
When you think of a foosball table, you probably imagine one that is made out of wood. Wood works well for any type of table game. It is easy to shape and cut, durable, and looks great as well, making wood the go-to material for your DIY foosball table.

2. Ends – The end boards need to be 26 inches in length. Measure 10.5 inches in from each side. Create a rectangle that is 5 inches by 2.5 inches in the center of the board and cut it out. This will be the goalmouth. Repeat these cuts exactly on the opposite board.

3. Playing surface – The playing surface should be 48 inches in length and 24 inches in width. To create the goals, however, you need to cut a section off the end. Measure 10 inches from the long edge on all four corners. Make a rectangle on each side of the surface that is 4 inches by 0.5 inches. Using your saw, cut off the excess so that each end has this small rectangle protruding off. This is where the goal will be for your table.

Once you have your plan in place, it is time to get the materials and tools together. Since you are trying to make something that will last for a good long time, it is best to get the highest quality materials that you can. That way, you can rest easy knowing that the finished product should stand the test of time.
The field should be made with a larger piece of wood that is 1 ½” thick. This can be achieved with one solid board or stacked pieces of plywood. Either way, you need a rigid and durable surface, so buy the best wood that your budget allows.
The very first thing that you need to do is measure out the cuts for your boards. You want to be as precise as possible when you measure out all of the sides and playing surface. After all, you are trying to save money by making this foosball table for yourself. The last thing that you want is to make a mistake when you measure since that will mess up your cuts and make it, so you need to buy extra wood.
Once you have your measurements finished, you can start your cuts. Using your circular saw or miter saw, cut both the pole sides and goal sides to the correct lengths. If you are using a miter saw, you can miter, or cut at an angle, the ends so that they fit together perfectly. To do this, you need to set your saw to cut at a 45-degree angle since the two boards together should add up to 90 degrees. If you want a simpler cut, just cut the boards to length straight across their face.
After you have the boards cut to length, you need to drill out the holes for the rods. Using the measurements that we presented earlier, set out eight different 1-inch diameter holes along the side of the board starting from the center. You also need to set up a 2-inch diameter hole in the center for the ball to drop through. The rod holes should be 5.5 inches apart from each other and the center ball hole. If you have clamps, you can save yourself some time and make sure that all of the holes line up perfectly by clamping the two sides together before drilling.
Once you have the sides complete, you can move onto the end boards. These boards are 26 inches long. As such, you need to use your measurements of 10.5 inches from each side to create a rectangle that is 5 inches by 2.5 inches in the center of the board. Use your circular saw to cut this rectangle out for your goals.
The playing surface needs to be cut to 48 inches by 24 inches. On the ends, you need to measure 10 inches from each corner. This should give you the endpoints for a rectangle that is 4 inches long and 0.5 inches wide. Once this is cut out, you will be left with a small rectangle, which is where the goals will be on your table.
When it comes to the legs for your new foosball table, you have a couple of different options. You can order a set of metal stand legs, which are highly durable. You can also buy table legs from the same location that you got your lumber from. If you go this route, you will need to add some braces for durability. No matter what you decide, you will be getting a solid base for your table.
After all of the pieces have been cut and drilled, it is time to put some finishing touches on the boards. First, you need to sand down any rough parts. This can be done by hand or with a power sander in fine grain. Next, wipe down all of the surfaces with a dust cloth. Finally, apply a coat of lacquer and allow it to dry for at least 2 hours. Lightly sand and clean the surface again before applying another coat. This should then be left to dry for 24 hours. Finally, apply some polish and shine the surface with a lint-free cloth.
Once the pieces have dried, it is time to fit them all together. You should first assemble the sides. Using your drill, use screws to put one side and end together and then attach the other pieces. Next, lay this assembled box on the playing surface and attach it from the bottom with screws. This can also be accomplished with glue as well if you prefer. Finally, attach the assembled table to the legs using screws.

Now that the bulk of the table is completed, you can put in the rods and players. Slide the players onto the rod before you put it through both sides of your table. Make sure that you have the proper plastic spacers to keep the players in place. You will also need to purchase handles and goals too, though you can easily fashion these from wood as well if you desire.
If you are looking for an easier way to entertain a younger child, you can fashion a foosball table out of a cardboard shoebox. Obviously, this will be on the smaller side but should be a great way to introduce youngsters to the game of foosball before moving up to a bigger table. All you need for this is a shoebox, some dowel rods, clothespins, scissors, and a ping pong ball. Cut holes in the side of the shoebox and insert the dowels. You can then use the scissors to cut goals on either end. From there, clip the clothespins onto the dowels for players and let your kiddos go to town, hitting the ball back and forth.

As you can see, making a DIY foosball table can be a challenging yet rewarding exercise. Not only will it save you plenty of money, but it will also fill you with pride knowing that you created your very own foosball table. It is sure to be a hit with friends and family as well, which is always a big plus when you have big get-togethers.
Of course, you need to make sure that you measure, cut, and assemble this table as carefully as possible. Otherwise, it is liable to break down on you or not work correctly. Thankfully, with enough time and patience, you are sure to be able to create a unique DIY foosball table of your very own