
Kevin Zhang is a passionate table tennis coach and the founder of RecRoomPick.com, a site dedicated to helping players and enthusiasts discover the best in indoor games. With years of competitive ping pong experience, Kevin shares expert tips, equipment reviews, and guides on table tennis, foosball, pool, pickleball, darts, and more. His mission is to make indoor recreation fun, accessible, and competitive for everyone.

 Last updated: November 16, 2026
. Guidance was checked against Dr. Dave Alciatore’s fundamentals checklist, Billiards Digest and the WPA Rules of Play on this date. Recroompick earns a commission on qualifying purchases through the links on this page, at no extra cost to you.
Quick answer: Hold a pool cue with a relaxed, light grip at the back of the cue, at the point where your forearm hangs straight down (perpendicular to the cue) when the tip meets the cue ball. Form a stable bridge with your other hand: fingers spread flat on the cloth and the shaft resting in the “V” between thumb and index finger. Billiards Digest suggests a bridge 6 to 8 inches (15 to 20 cm) from the cue ball for most shots. Stand with your feet apart, back foot on the aiming line, and keep the cue as level as possible. WPA rules also require at least one foot on the floor when the tip hits the ball. In our editorial view, a loose grip is the single change that helps most beginners.
Most new players squeeze the cue, plant their bridge hand loosely and stand square to the table. Each of those habits pulls the cue off line. The fix is a handful of fundamentals that coaches and instructors agree on.
This guide covers the back-hand grip, the open, closed and rail bridges, bridge length, stance and the mechanical bridge. It is based on the fundamentals checklist published by Dr. Dave Alciatore, a Billiards Digest instruction columnist, his Billiards Digest stroke tune-up, the World Pool-Billiard Association (WPA) rules and our research for the best pool cues guide.
| Element | What to do | Source |
|---|---|---|
| Back-hand grip | Light, relaxed, closed cradle; cue pivots on index or middle finger; no wrist motion | Dr. Dave checklist |
| Grip position | Forearm perpendicular to the cue at cue ball impact | Dr. Dave checklist |
| Bridge hand | Fingers spread, large contact with the cloth; open bridge: cue in the thumb and index finger “V” | Dr. Dave checklist |
| Bridge length | 6 to 8 in (15 to 20 cm) for most shots; 4 to 6 in or 8 to 12 in for special shots | Billiards Digest |
| Stance | Rear foot at about 45 degrees on the aiming line; front foot at least a shoulder width to the side and forward | Dr. Dave checklist |
| Cue and head | Cue as level as possible; head low but comfortable, over the cue | Dr. Dave checklist |
| Rules | At least one foot on the floor at contact; up to two mechanical bridges | WPA Rules of Play, 2026 |
Sources: Dr. Dave Alciatore’s Pool Fundamentals “Best Practices” Check List, Billiards Digest stroke tune-up (Alciatore with Mason King), WPA Rules of Play (October 2026). Full list in the Sources section.
Hold the back of the cue lightly in your dominant hand, with the cue hanging below your forearm. Dr. Dave’s checklist describes the grip as a “natural, relaxed, and light (but closed) cradle”, with the wrist in a comfortable position and the cue allowed to pivot on the index or middle finger while the other fingers stay relaxed.
Why light? Billiards Digest explains that “a loose grip allows the hand to pivot in the pendulum-stroke motion”, while holding the cue in a “death-grip” tightens the arm, wrist and elbow and makes smooth acceleration harder. It also warns against tightening the grip on the forward stroke when you need power.
A bridge is the hand that supports and guides the front of the cue. The key is stability: Dr. Dave’s checklist calls for a “solid foundation (fingers spread, large hand contact area)” that guides the cue without too much resistance. Whether you use an open or a closed bridge is a matter of personal preference, according to Billiards Digest.
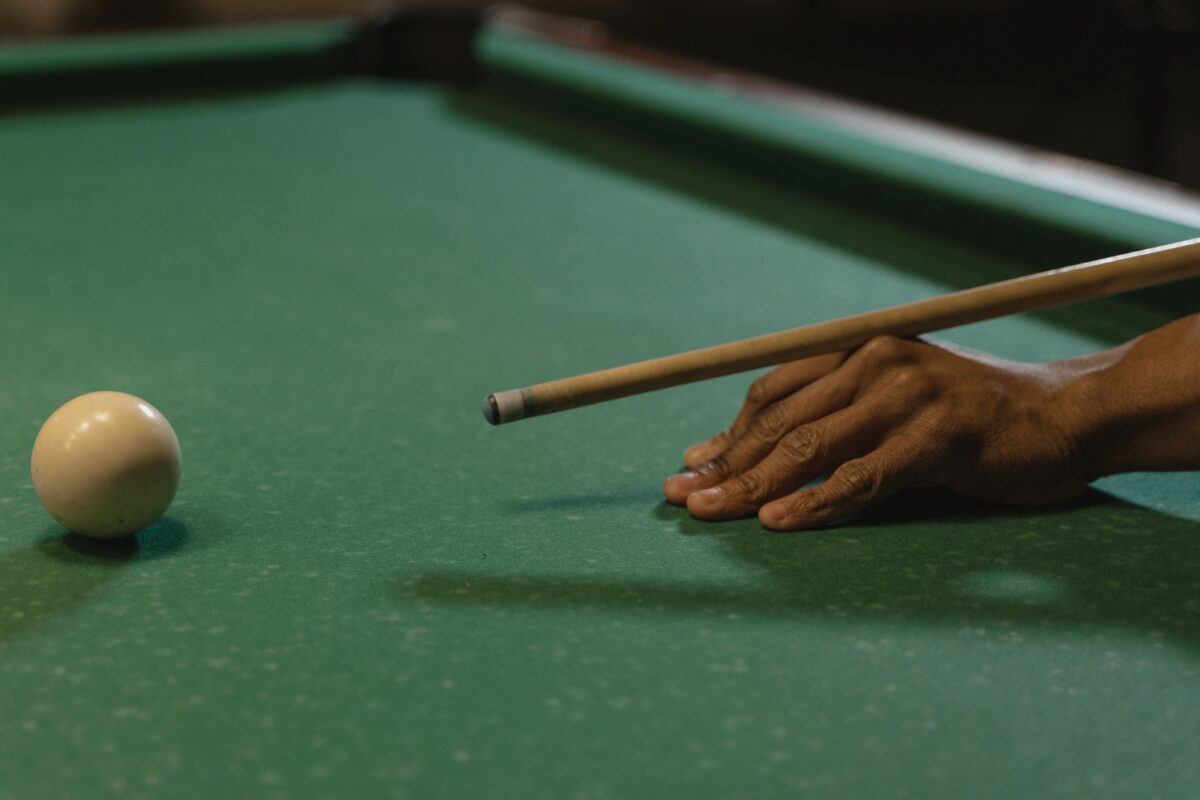
An open bridge: fingers spread on the cloth and the shaft resting in the V of the thumb. Photo by Tima Miroshnichenko on Pexels.
Spread your fingers and press your palm onto the cloth. Press your thumb against the base of your index finger to form a “V”, and lay the shaft in that groove. Dr. Dave’s checklist says the cue should rest on the index finger and thumb V, “off fleshy parts of fingers and hand”. Raise or lower your knuckles to change the tip height. Billiards Digest columnist Dr. Dave Alciatore uses the open bridge because he can sight the cue better.
Plant your hand, touch your thumb to your middle finger, slide the cue along that V and loop your index finger over the shaft, as described by Jeanette Lee (“the Black Widow”) in a Pooldawg lesson. The loop wraps the cue so it stays on line. Close the loop snugly but loosely enough for the shaft to slide.
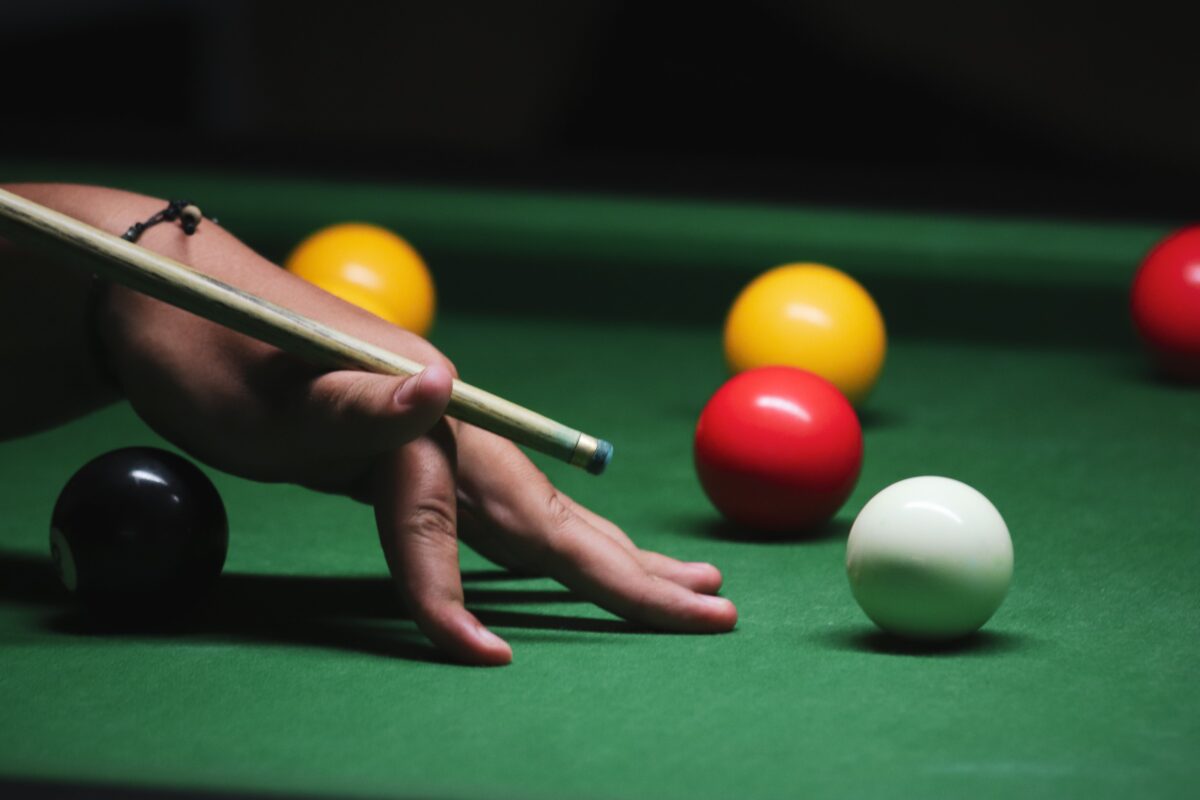
Raising the knuckles lifts the bridge when a ball is in the way. Photo by Boys in Bristol Photography on Pexels.
When the cue ball sits near a cushion, put your bridge hand on the rail instead of the cloth. In her Pooldawg lesson, Jeanette Lee forms a closed rail bridge with the length of the thumb and the middle fingertip on the rail and the index finger looped over the cue, and brings the hand in as the cue ball gets further from the rail, without elevating the cue. That matches the checklist’s advice to keep the cue as level as possible.
For shots you cannot reach, use a mechanical bridge, also called a rake, crutch or rest in the WPA equipment specifications. Dr. Dave’s checklist recommends holding the bridge firmly, on the table if possible, with your other hand, and switching to a reverse “dart” grip on the cue with the elbow out. WPA rules allow up to two mechanical bridges in a shot, and the cue must rest on the bridge head.
About 6 to 8 inches (15 to 20 cm) from the bridge to the cue ball for most shots, according to Billiards Digest. A shorter bridge of 4 to 6 inches (10 to 15 cm) may give more accurate tip placement; a longer bridge of 8 to 12 inches (20 to 30 cm) lets you accelerate more smoothly and build power. Dr. Dave adds that the bridge length should generally match the stroke: longer for power shots, shorter for finesse shots.
Stand behind the cue ball, find the aiming line, then step into it. Dr. Dave’s checklist gives a typical setup:
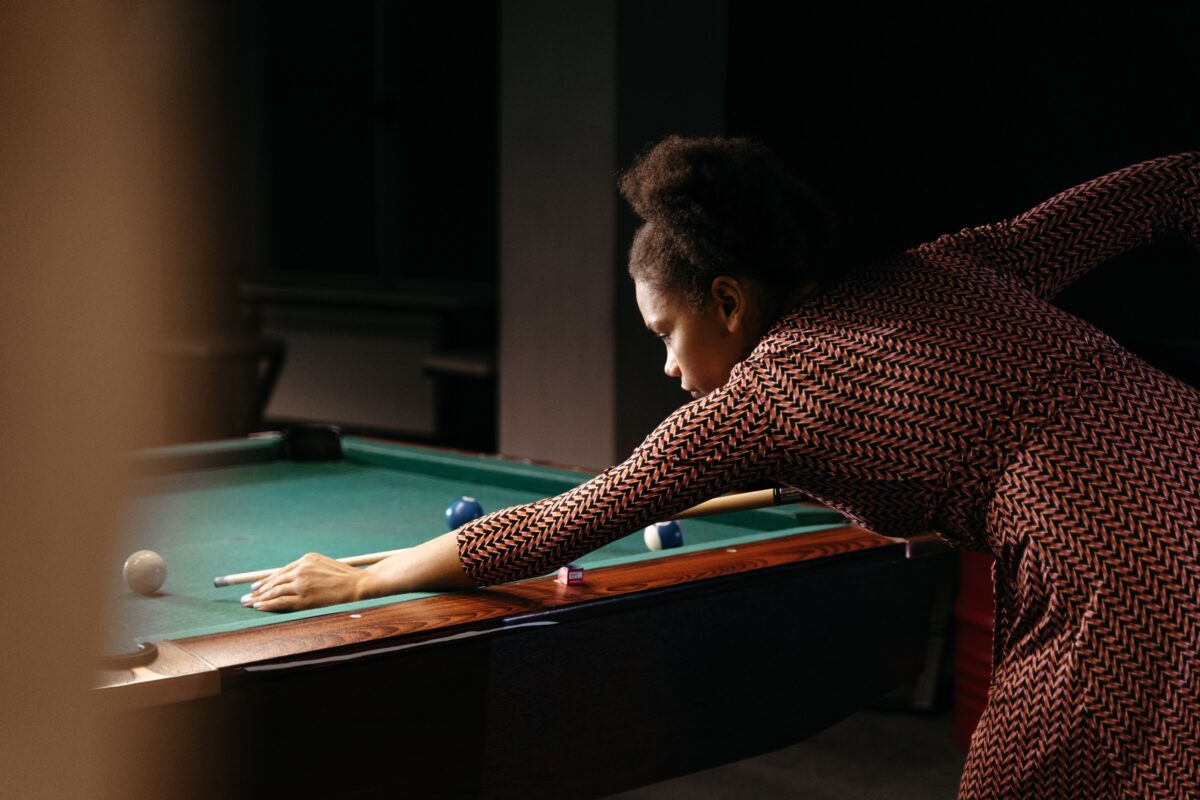
Bridge arm extended, head down over the cue line. Photo by MART PRODUCTION on Pexels.
Billiards Digest notes there is no single correct foot position: what matters is a stance that is comfortable and the same on every shot. Under WPA rules, at least one foot must touch the floor at the instant the tip contacts the cue ball, or the shot is a foul.
Mirror every step. Grip the back of the cue with your left hand, bridge with your right, put your left foot back on the aiming line and step forward with your right foot. The grip, bridge length and level-cue advice are the same for both hands.
A little. Weight and balance change how the cue feels in a light grip. Dr. Dave’s checklist names 19 oz (539 g) as the most common weight. If you are unsure, a set with several weights lets you try them: the AKLOT set of 4 in our best pool cues guide has 58 in cues at 18, 19, 20 and 21 oz with 13 mm tips, and cost $74.99 at our check.
Our take: learn the grip and bridge first and buy a cue later. A clean, dry shaft and hand matter too: Dr. Dave’s checklist lists them among the basics. If your bridge hand sticks, a pool glove helps, and WPA rules allow gloves.
Lightly. Dr. Dave Alciatore’s checklist describes a “natural, relaxed, and light (but closed) cradle” that stays relaxed for the whole stroke. Billiards Digest explains that a loose grip lets the hand pivot in a pendulum motion, while a death-grip tightens the arm, wrist and elbow and makes smooth acceleration harder.
Hold it where your forearm is perpendicular to the cue, hanging straight down, at the moment the tip hits the cue ball. Get into your stance with the tip near the ball and slide your hand forward or back until your forearm is vertical. That position is listed in Dr. Dave Alciatore’s fundamentals checklist.
About 6 to 8 inches (15 to 20 cm) from the bridge hand to the cue ball for most shots, according to Billiards Digest. A shorter 4 to 6 inch bridge can improve tip accuracy, and a longer 8 to 12 inch bridge helps power shots. Dr. Dave adds that bridge length should generally match stroke length.
Yes. The WPA Rules of Play let a player use up to two mechanical bridges to support the cue during a shot, as long as they are similar to standard bridges and the cue rests on the bridge head. WPA rules also allow gloves for the grip or bridge hand.
There is no single best bridge. Billiards Digest says the choice between open and closed bridges is personal preference, and stability is what matters. Dr. Dave Alciatore uses the open V bridge because he can sight the cue better; the closed loop bridge wraps the cue so it stays on line. Use a rail bridge near cushions.
Yes. The hand bridge, open or closed, is one of the basic fundamentals in instructor checklists such as Dr. Dave Alciatore’s, and the mechanical bridge is allowed in WPA-ruled play for shots that are out of reach. Dr. Dave’s checklist includes a section on using the mechanical bridge with a reverse grip.
Under WPA rules, yes: if the shooter does not have at least one foot touching the floor at the instant the tip contacts the cue ball, the shot is a foul. Casual house rules may differ, so agree on them before you play.
This guide is based on Dr. Dave Alciatore’s Pool Fundamentals “Best Practices” Check List and his bridge-length FAQ, the Billiards Digest stroke tune-up by Alciatore with Mason King, Jeanette Lee’s bridge lesson on Pooldawg, and the WPA Rules of Play and equipment specifications. Cue details come from the listings we verified for our pool cue guide. Recommendations marked “Our take” are our editorial judgment.